
OVH provide dedicated servers with their own customized kernels. Also the loaded disk partitions too will look odd to you. Now if you directly run the virtualizor installation script then it will get installed but it will not work. Because the Xen/KVM kernel and modules will not be loaded.
So we will have to first have to replace it with normal kernel and also remount the partitions too.
Install the kernel
[root@server ~]# yum install kernel
.....................
Installed:
  kernel.x86_64 0:2.6.32-431.20.3.el6
Complete!
Now remount the partitions
[root@server ~]# rm -rf /etc/mtab
[root@server ~]# mount -o remount -a
Add kernel new kernel entries to grub file and reboot the server.
[root@server ~]# new-kernel-pkg --mkinitrd --depmod --install  2.6.32-431.20.3.el6.x86_64
[root@server ~]# reboot
NOTE: Check grub.conf and make sure that regular vmlinuz kernel is configured to load instead of bzImage kernel provide by OVH. Then reboot the server.
Now all is set and we can start the installation of Virtualizor. Below are the steps for installing XEN virtualization.
[root@server ~]# wget -N http://files.virtualizor.com/install.sh
[root@server ~]# chmod 0755 install.sh
[root@server ~]# ./install.sh email=user@domain.com kernel=xen lvg=vg0
“vg0” is the logical volume that I created.
It will take some time fo the installation to complete and you will see something like this
Congratulations, Virtualizor has been successfully installed

API KEY : f3bm1ds8iq3nmcrgt2gf8wqy3zk2xiqk
API Password : ctm3qbnxzuux9i8uwnwji39d0urgu8qf

You can login to the Virtualizor Admin Panel
using your ROOT details at the following URL :
https://xx.xx.xx.xx:4085/
OR
http://xx.xx.xx.xx:4084/

You will need to reboot this machine to load the correct kernel
Do you want to reboot now ? [y/N]
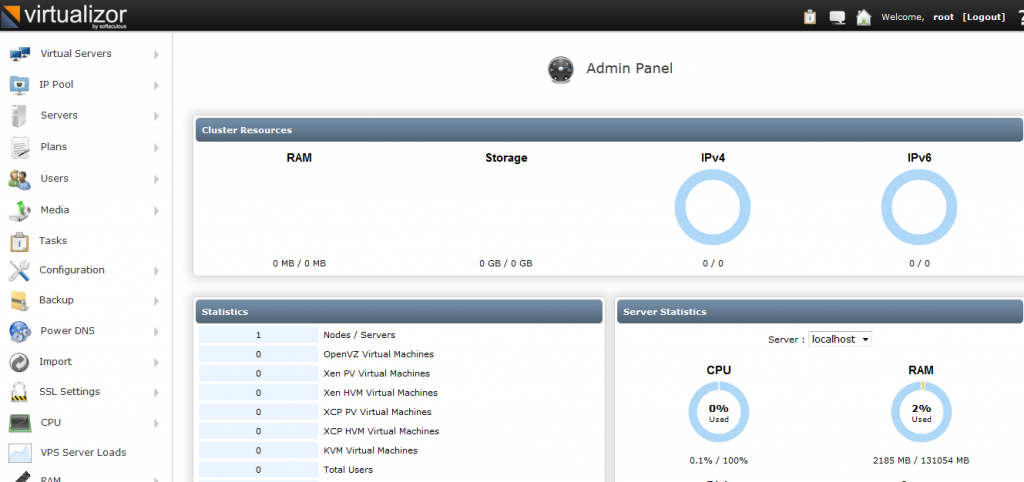
Press “y” and reboot the server. And all is done. You can now access the Virtualizor admin panel from https://xx.xx.xx.xx:4085/. You should login with your severs root login details.
NOTE: In case you are not able to access the admin panel then your firewall must be blocking it. You should unblock the ports
iptables -I INPUT -p tcp --dport 4084 -j ACCEPT
iptables -I INPUT -p tcp --dport 4085 -j ACCEPT

Pingback: سوال در مورد مجازی ساز open vz